ST2U SwapTexture
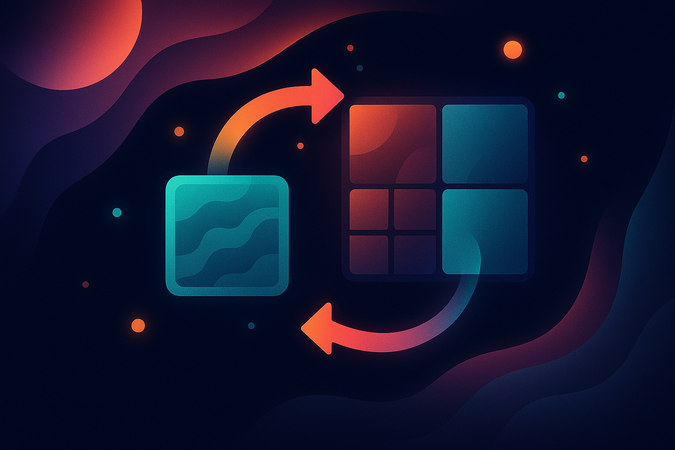
Enable seamless texture swapping for tile-based maps created with SuperTiled2Unity. This example demonstrates how to swap tileset textures without sprite atlasing artifacts by disabling atlasing, adding manual tile padding, and implementing custom shaders. Ideal for developers building games that require visual theme variations or seasonal map changes.
Unity Project
Built with Unity 2021.3.11f1 · download the source from GitHub
Dependencies (41)
README
Swap Texture SuperTiled2Unity Example
A common trick in tile-based 2D games is to change the look of a map by swapping out the texture that contains the tiles.
Unity fights us on this mainly because modern 3D engines can have a lot of seams in them due to texture samplers selecting a texel that is just barely out-of-bounds of a given tile in a tilesheet.
I talk about this problem with seams with the original Tiled2Unity package here: Fixing Seams in Exported Tiled Maps
Unity 2018.1 added the Sprite Atlas asset to resolve issues with seams. This is a helpful way to have Unity automatically add borders to your tiles so we no longer worry about mathematical precision with texture samplers.
However! This convenience copies our tiles into texture resources we don't have control over. Further, we have no idea where on the sprite altas (i.e. the texture coordinates) our tiles are placed.
Long story short: Sprite atlases rob us of the ability to simply swap out textures in our tiled map layers.
But with a bit of work we can still achieve what we want.
How to swap out a texture for a layer with SuperTiled2Unity
This tutorial uses the desert example that is installed with the Tiled Map Editor.

Step 1: Disable sprite atlasing on the imported tileset (*.tsx) file
By default the desert.tsx tileset will be imported with sprite atlasing enabled. We need this disabled that so that the texture coordinates between our different textures match.
![]()
Note that with sprite atlasing disabled we're going to see seams!

In order to fix this we have to add borders by hand that sprite atlasing would have taken care for us automatically.
It only takes a couple of minutes to modify your tileset this way. For this example each 32x32 tile has a 1 pixel border added around it. The border "copies" the pixel that came before it.


You can read more about padding this way on my Tiled2Unity github page here.
Step 2: Use a custom shader and material that samples from different textures
We don't actually "swap" a texture but instead have a custom material (SeasonsMaterial.mat) that is aware of the textures we're using.
For this example we treat the original texture as a "summer tileset" and another texture as a "winter tileset".

Our material uses a custom shader that samples the summer or winter texture based on the value of the _UseSummerTexture global shader variable (see seasons-shader.shader).
float4 SeasonFrag(v2f i) : SV_Target
{
    float4 color = float4(0, 0, 0, 1);

    if (_UseSummerTexture == 1.0)
    {
        color = tex2D(_SummerTex, i.uv);
    }
    else
    {
        color = tex2D(_WinterTex, i.uv);
    }

    return color;
}
Step 3: Use Material Matchings to have a given Tiled layer use our specialized material
We need a way to have our imported map use this specialized material. There's a couple of ways to achieve this but the simplest solution is to use the material matching feature in SuperTiled2Unity.
Material matching simply matches a layer name to a material. We are going to make it so that any layer named SeasonsLayer in our Tiled map uses the SeasonsMaterial material.


Step 4: Have a custom component swap the textures in realtime
All that is left to do now is have some mechanism in place to set the global shader variable that controls the season at rutime. SeasonManager.cs simply toggles between summer and winter over time.
    private void Update()
    {
        m_Timer += Time.deltaTime;
        if (m_Timer >= m_SeasonLength)
        {
            m_UseSummerTexture = !m_UseSummerTexture;
            m_Timer = 0;
            UpdateSeason();
        }
    }

    private void UpdateSeason()
    {
        if (m_UseSummerTexture)
        {
            Shader.SetGlobalFloat("_UseSummerTexture", 1.0f);
        }
        else
        {
            Shader.SetGlobalFloat("_UseSummerTexture", 0.0f);
        }
    }
When we press play we can see the "texture swapping" in action.

Comments
No comments yet. Be the first!
Sign in to join the conversation
Sign In